WooHoo! We got the Office 365 and Dynamics CRM Online accounts setup today so now we can start configuring everything ready for the users.
The Office 365 Tenancy
Is actually being configured by our IT support partner so we don’t need to worry about that one, they have just given us an administrator account so we can begin to configure the Dynamics CRM Online system while they finish setting up all the users.
The Dynamics CRM Online Environment
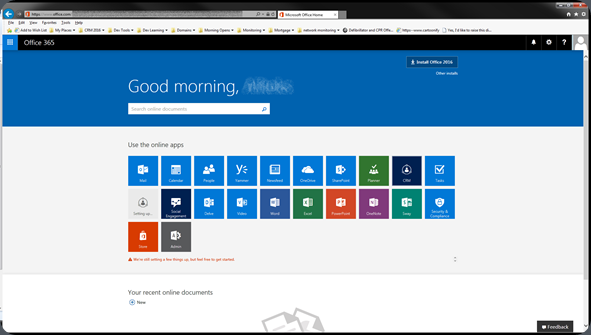
So we go to portal.office.com and log in with our nice shiny new administrator account
Now, we know that we want to integrate SharePoint Online with CRM Online so it makes sense to set up a new SharePoint site just for this.
Setting up SharePoint
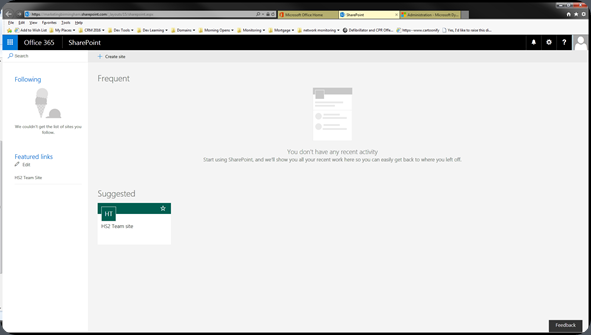
Give the SharePoint button a click to go through to the SharePoint area
Here you can see we already have one Site, so we just need to click the Create Site button to add another
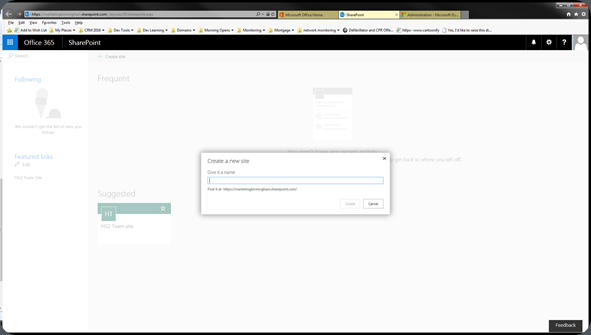
And just give it a name, click Create and wait a little.
NOTE: you might need to edit the site permissions later
Integrating SharePoint
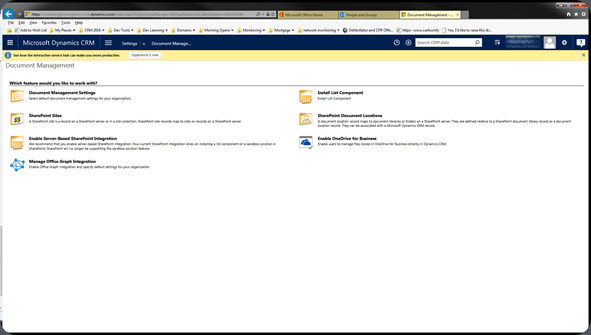
Now we can go back to the Portal and click the CRM button and to navigate to the settings > Document Management area
Click Enable Server-Based SharePoint Integration, this will take you through a little wizard to get everything connected up.
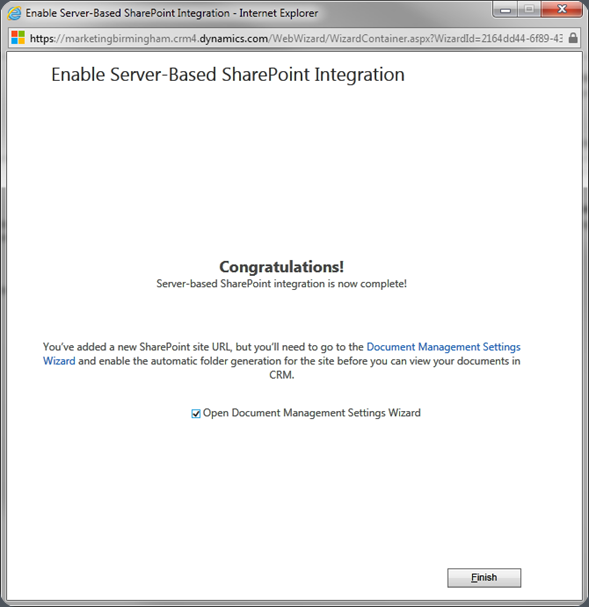
Help for this, should you need any, can be found on TechNet. Once you are complete the wizard will show this page
The next step is to configure where the Entities will store their documents in SharePoint. Tick the little box and click Finish to start the wizard for this.
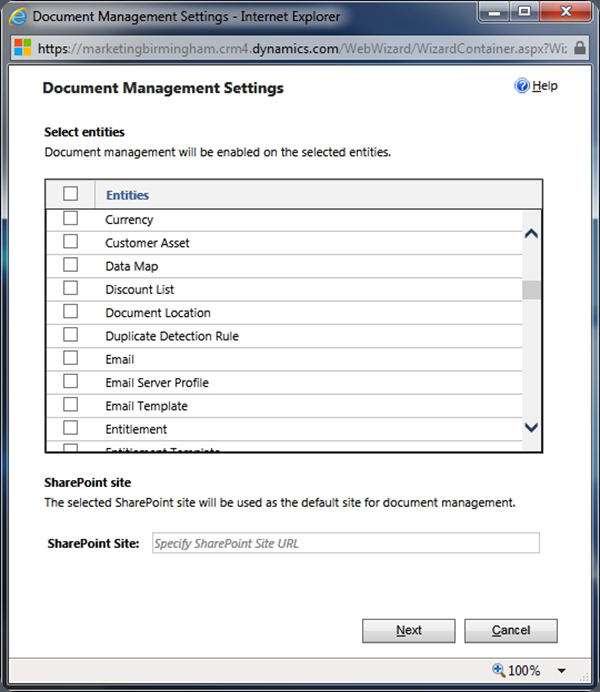
Here you can select all of the entities that you want to enable for SharePoint Integration, pop the SharePoint URL in and click Next.
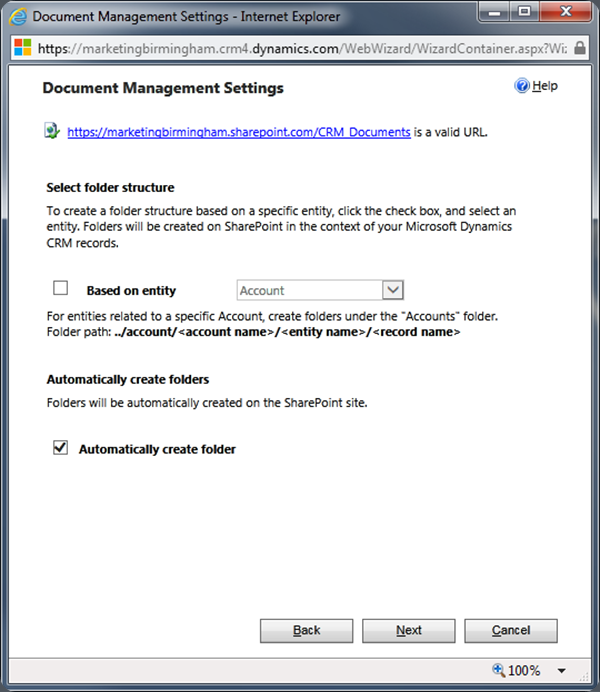
Now we get to the awkward question; how to structure the files in SharePoint. As our business revolves heavily around Accounts, we are selecting that option, the others are Contact and By entity Type – there is a great write up of the options over at powerobjects.com
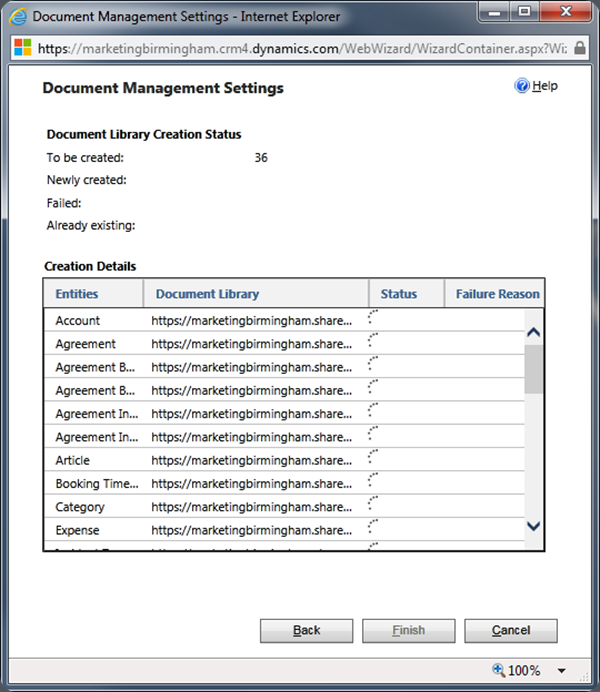
Finally we get the Whirly-Wheels-Of-Waiting ™ as the folder structure is created
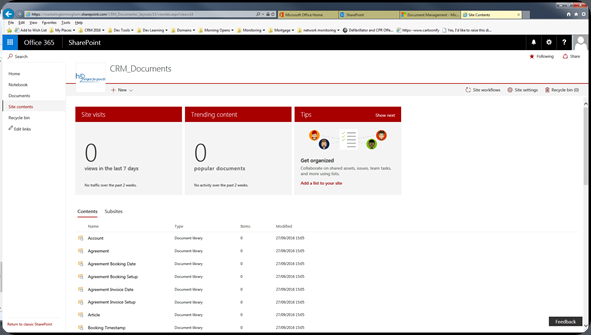
Once its done you can check for any errors and see the newly created folders in SharePoint on the Site Contents Page
The Development Environment
We want to ensure that all of our ‘code’ is in source control, this includes the solutions, JavaScript and other customisations from CRM. We are also going to create all new Visual Studio Team Services and Azure accounts, the intent is to keep all the new work isolated and make it easier to drop old projects cleanly.
We have defined a folder structure for how we will store the solutions in source control (Visual Studio Team Services using Git). We will use the tools built in CRM to create the Solutions in the Test Instance, then when we are happy with them they will be exported to the correct folder in source control and then imported in to the Live Instance.
Visual Studio Team Services
We are going to use VS Team Services as it Just Works™. We already have MSDN subscriptions, and the Test and Package Management features work nicely for us on existing projects.
By creating a new account using my Office 365 account we automatically get the ability to share with everyone on the same Active Directory/Office 365 tenancy.
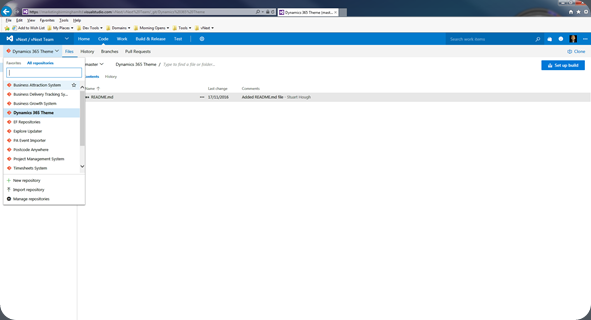
Now we need to decide how to structure the work inside of VS Team Services; there are three things that we need to segregate
- Work Items
- Time
- Repositories
Work Items
These are our Tasks and Bug and Feature Requests and so on; they can be segregated by Project and by Area so we could have a Project for ‘Project Management System’ with Areas for ‘Front End’ and ‘Database’ and another Project for the ‘MB Webservice’ for example. The downside to this approach is that is that you cannot get one view of all work across all projects so there is an additional administration overhead to planning workloads
Another approach is to have one Project and use Areas to define the systems – ‘Big Master Project’ and Areas of ‘Project Management System’ and ‘MB Webservice’ for example. The downside to this approach is that if you have a large team and many Work Items in play at the same time the Backlog and Boards get very messy.
As we have a small team and rarely work on more than one component system at a time we are going for the second approach.
A great write up is available over at Naked Agility
Time
Time is split out using Iterations, you can divide these pretty much how you like. You could just have one never ending Iteration, or monthly, whatever works for you. We use fortnightly to coincide with the all staff meeting which is a good opportunity for us to announce successes and negotiate next steps.
Repositories
People often think that repositories must be one to one with Projects but that is not actually the case, we will be having one repository per Area, so for example ‘Project Management System’ will have its own repository and ‘MB Webservice’ will have another. This allows us to use one Project and get a clean overview of all Work Items whilst still keeping the code separate and the check-in history tidy.
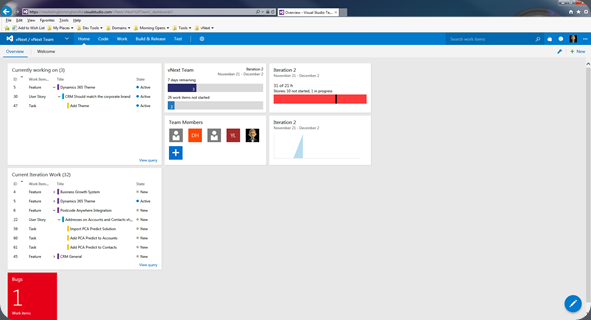
Here is what our VSTS looks like now we have started loading work in; this is the main dashboard:
CRM
First thing we are going to do is create the Test/Development Instance.
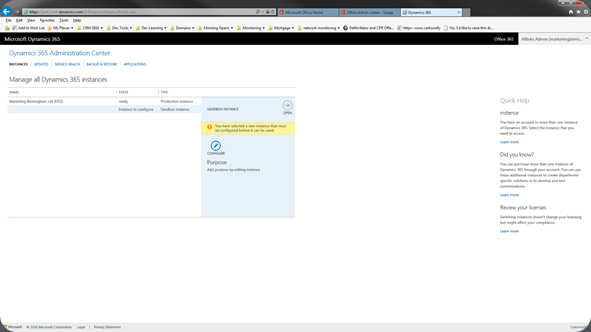
When you login to the Dynamics 365 Administration Centre you will see the list of instances
Here you can see we have our Production Instance and our free Sandbox Instance waiting for us to configure it.
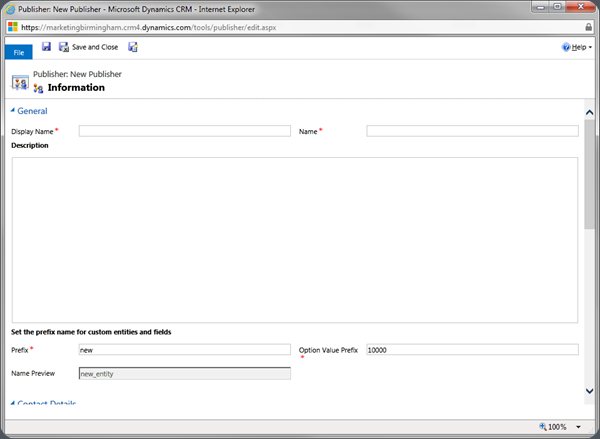
Next we should add a new publisher in CRM to help clearly identify the customisations that we have created.
In CRM go to Settings, Customizations, Publishers and click new
Complete all the fields with your chosen values, trying to make them unique – we used our registered company name as its unlikely that anyone else would use that and if they did we would be on good ground to make them change.
And now we can begin implementing everything.
One comment